




How to Clean Ice Maker Safely and Thoroughly
Learn how to clean ice maker parts safely, remove scale and slime, and spot problems that need refrigerator repair in West Hollywood homes and rentals.
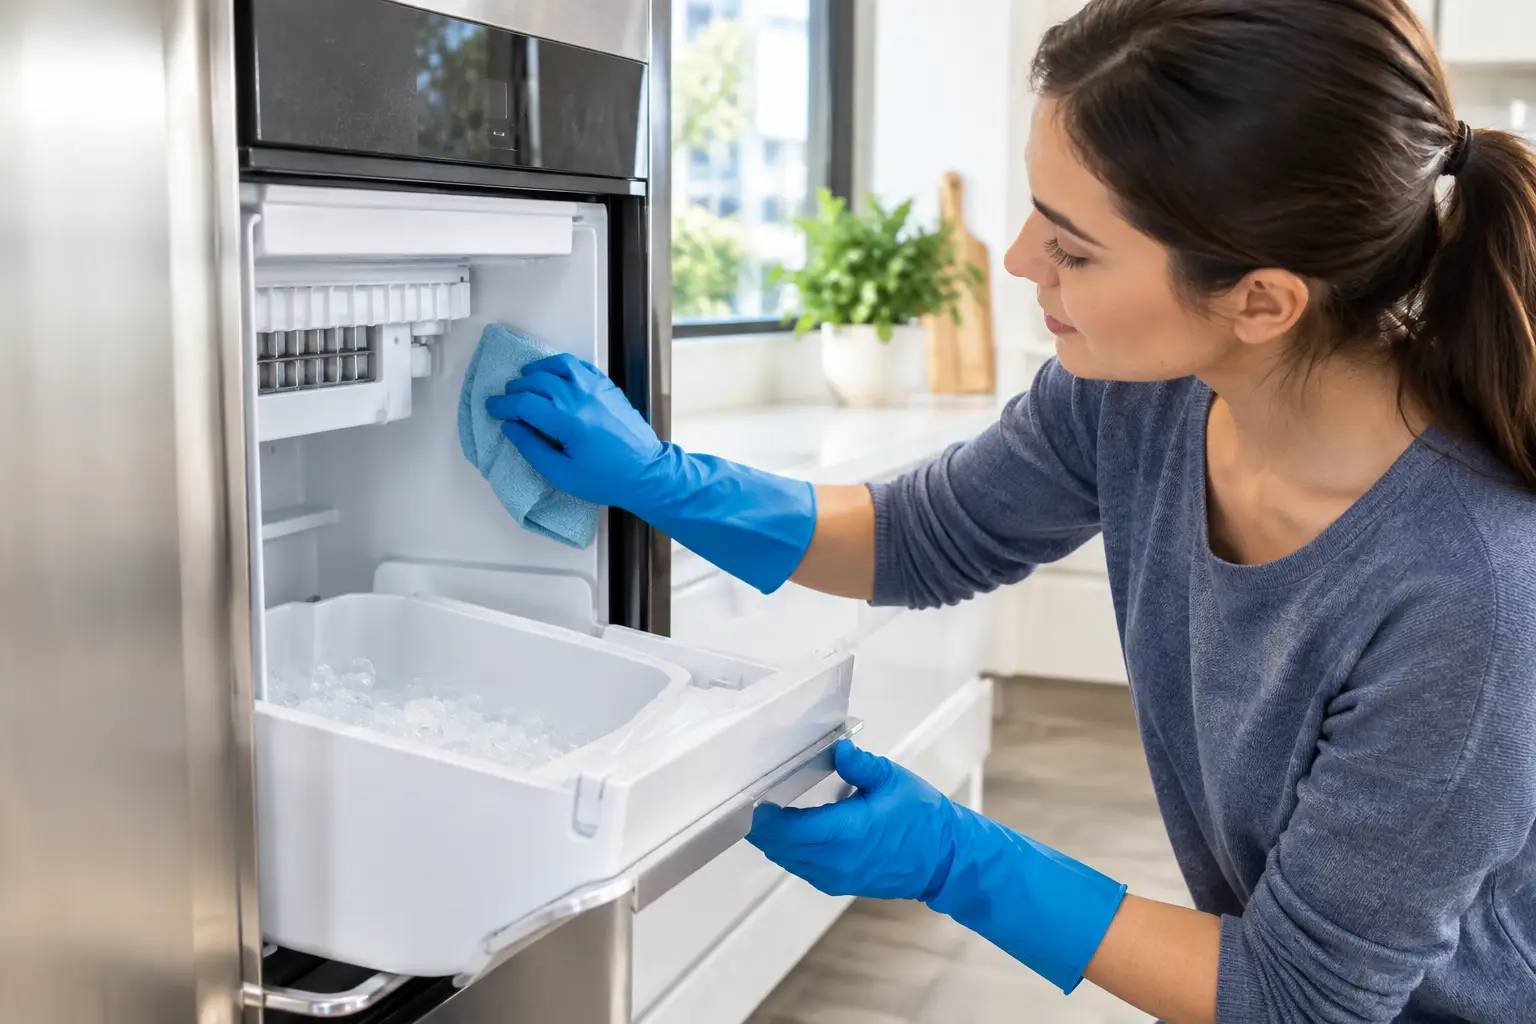
Most dirty ice makers have mineral scale from hard water or a thin film of mold, yeast, and bacteria in the water path. Those deposits can cause cloudy ice, a bad taste or smell, slow ice production, and ice that sticks together in the bin.
Here is how to clean ice maker parts without damaging the unit or leaving cleaner in your next batch of ice. The exact method depends on whether you have a refrigerator ice maker or a countertop ice machine, so start with the owner’s manual if you still have it. Some models have a clean cycle. Others need to be cleaned by hand.
What should I do before cleaning an ice maker?
Turn the ice maker off first. For a refrigerator model, raise the shutoff arm if it has one, use the control panel to turn ice making off, or switch off power at the appliance control. For a countertop unit, unplug it.
Remove all ice from the bin. Throw it out rather than putting it back in drinks. Old ice can hold odors and small bits of scale. Take out the removable ice bin, scoop, and water reservoir if your model allows it.
If the refrigerator has a water dispenser, you may also want to turn off the water supply valve behind the refrigerator. This is not always required for a basic bin cleaning. It is a good precaution if you are removing a water reservoir, touching the fill tube, or working around the water inlet area.
Never use a sharp tool to chip ice from the ice mold or the plastic fill tube. That can crack the mold coating, puncture a water line, or bend the ice maker’s shutoff arm.
How do I clean the ice bin and removable parts?
Wash the bin, scoop, and removable plastic parts in warm water with mild dish soap. Use a soft cloth or soft brush. Rinse them well and let them dry fully before putting them back.
For white, chalky mineral marks, use a manufacturer-approved ice machine cleaner when the manual calls for one. A solution of white vinegar and warm water can help on removable plastic parts if the manual does not warn against it. Do not soak electrical parts, sensors, wiring, or the motor housing.
A clean-looking bin can still have a slick film near the bottom corners. Rub those areas with your fingers after washing. If they feel slippery, wash them again. That film is often the source of an odd smell, even when the ice itself looks normal.
Do not use bleach unless the manufacturer specifically tells you to use it and gives the dilution amount. Bleach residue can affect taste, and it must never be mixed with vinegar or any other cleaner.
How do I clean the inside of a refrigerator ice maker?
With the ice maker off and the bin removed, wipe the accessible inside surfaces with a damp cloth. Pay close attention to the ice mold, the plastic chute, and the fill tube above the mold. The fill tube is the small part that sends water into the ice maker. A partial blockage there can make small cubes or cause water to splash and freeze in the wrong place.
Use a soft toothbrush only on reachable plastic surfaces. Do not force it into the fill tube. If there is ice inside the tube, let the refrigerator warm slightly with the ice maker turned off, or use a cloth dampened with warm water around the outside. Do not use a hair dryer. Too much heat can warp plastic parts and can create a safety risk near wiring.
Wipe the ice level sensor or shutoff arm gently. On many refrigerator ice makers, this is what tells the unit when the bin is full. Sticky residue or a bent arm can stop production even though the ice maker itself is not broken.
What if my ice maker has a clean cycle?
A countertop ice machine often has a marked CLEAN button or a clean mode in the controls. Empty the water, then add the cleaner and water in the amount listed by the manufacturer. Run the full clean cycle. When it ends, drain the machine and run two or three rinse cycles with fresh water.
Do not skip the rinses. Cleaner left in the water reservoir can make several batches of ice taste sour or chemical-like. Make and discard the first one or two batches after cleaning as an extra precaution.
For a refrigerator ice maker without a clean cycle, the cleaning is mostly manual. You clean the bin, visible mold area, chute, and fill tube area, then let it make fresh ice. Discard the first full bin if the unit had an odor or heavy scale.
Why is my ice maker still making bad ice after I clean it?
Replace the refrigerator water filter if it is overdue. A filter does not remove all minerals, but an old filter can affect taste and flow. Check the date written on the filter or the change indicator on the refrigerator display. Many filters need replacement about every six months, but water use and the filter type matter.
Also check the food in the freezer. Ice absorbs odors easily. Open boxes, uncovered leftovers, onions, and strongly scented freezer food can make clean ice smell bad. Put food in sealed containers and keep the freezer at about 0°F. A warmer freezer can make ice soft, wet, and more likely to clump.
What people usually assume: the water filter is the whole problem
People usually assume bad-tasting ice means the water filter is old. That is a reasonable guess because the filter affects the water that enters the refrigerator, and changing it is easy.
But it is often not the real cause. A new filter will not remove slime from the ice bin, residue in the mold, or odors already trapped in the freezer. It also will not fix a cracked water line, low water pressure, or a water inlet valve that is not closing correctly.
What it actually is may be buildup in the ice path, a freezer odor, or a mechanical water issue. If the cubes are hollow, very small, or fused into a solid block, cleaning and a new filter may not be enough. The water inlet valve, fill tube, freezer temperature, or ice maker control may need to be checked.
What can I check myself in five minutes?
Pull out the ice bin and look directly at the fill tube above the ice mold. It should be open and dry between fill cycles. If you see a solid plug of ice at the end of the tube, take a photo and turn the ice maker off. That points to water dripping when it should not, often because the water inlet valve is not sealing fully.
Also look at the cubes. Normal cubes are fairly even in size. Small cubes, hollow cubes, or cubes connected by thin sheets of ice can mean low water flow. A clogged filter is one possibility. A kinked supply line, weak household water pressure, or a failing inlet valve are other possibilities.
When should I stop cleaning and call for ice maker repair?
Call for service if water keeps leaking into the ice maker after cleaning, the fill tube freezes again within a day or two, the ice maker does not cycle, or the refrigerator is not holding a steady freezer temperature. Repeated thawing and refreezing can turn a simple cleaning issue into a larger freezer problem.
For homeowners, tenants, landlords, and property managers in West Hollywood, it also makes sense to call when the unit has stopped producing ice completely. A repair visit can check the water inlet valve, fill tube, ice maker motor, control board, door switch, and freezer temperature instead of guessing at parts. Vertex Appliance Repair charges an $89 diagnostic fee, and that fee is waived when you approve the repair. Installed parts and labor carry a 90-day warranty.
Clean the bin and visible ice path every few months, and sooner if the ice smells odd or starts clumping. If fresh ice still tastes bad after a proper rinse and a filter check, turn the ice maker off rather than continuing to use it until the cause is clear.
Related articles
Sub-Zero Error 24 EC — Check the Condenser Before the Defrost Parts
Oven Only Works on High Temperature — It’s the Thermostat