





How to Prepare Dryer Repair Before a Tech Arrives
Learn how to prepare dryer repair before a technician arrives. Safety checks, access tips, and details that help the visit go smoothly in West Hollywood.
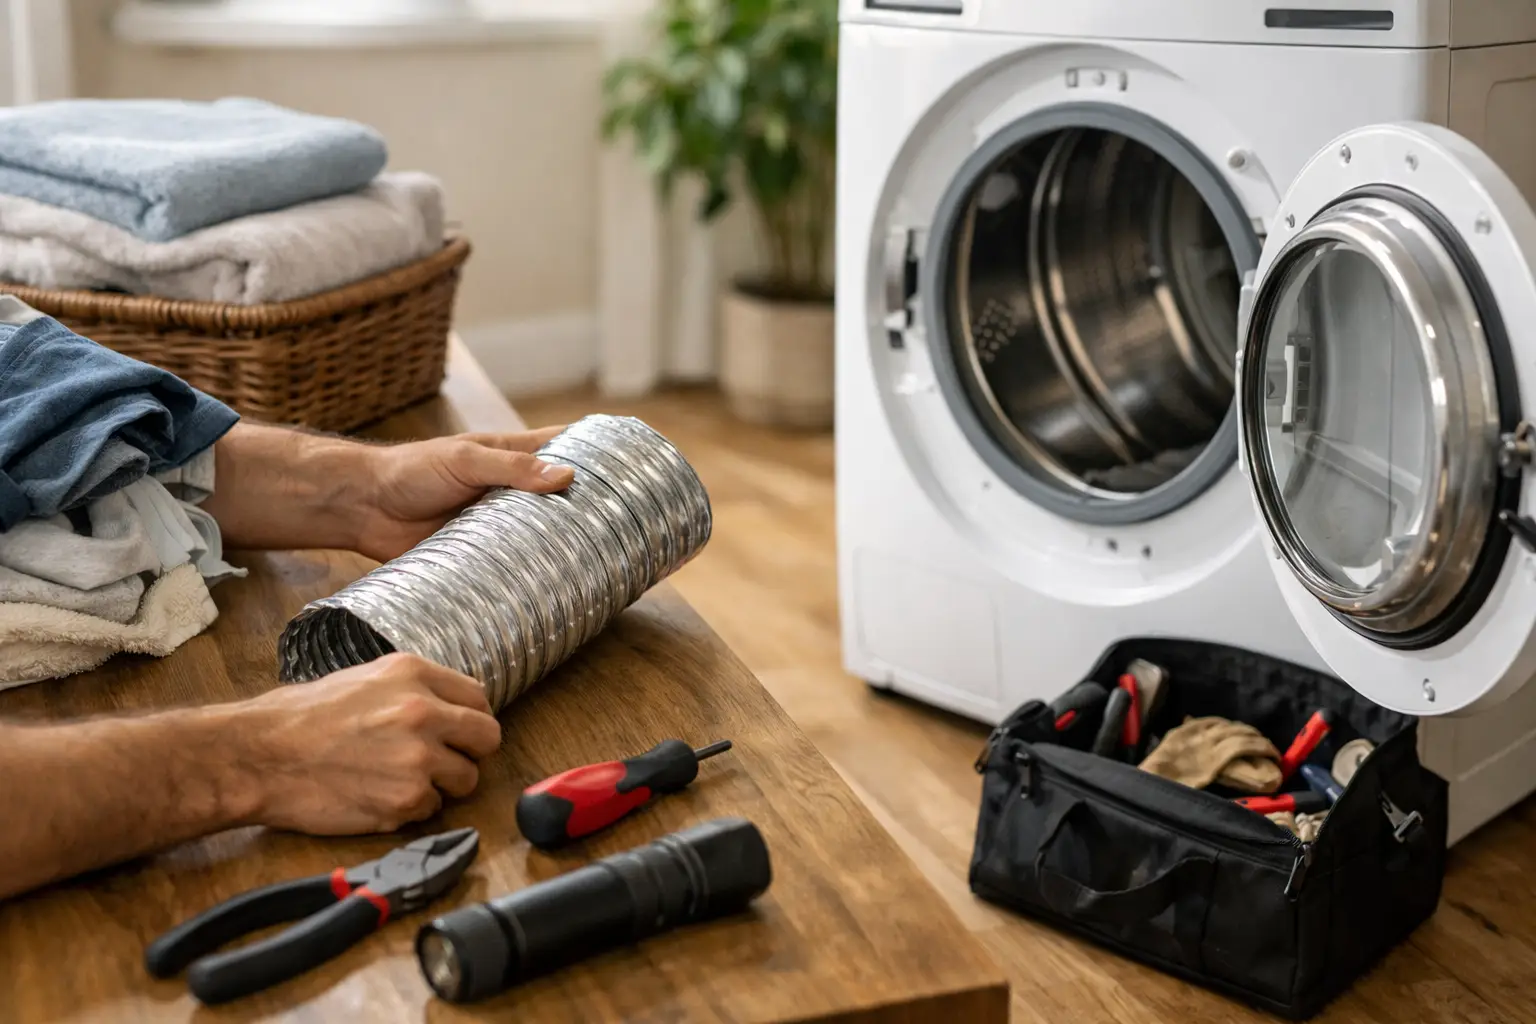
A dryer that will not heat, will not start, or takes two full cycles to dry clothes can disrupt the whole week. If you are wondering how to prepare dryer repair, a few simple steps can make the service visit faster and safer. You do not need to take the dryer apart. In fact, it is better not to.
Preparing the area helps the technician reach the problem without delay. It also gives you a chance to notice useful details, such as error codes, unusual sounds, or a burning smell. Those details can point us in the right direction from the start.
Start With Safety
Before you move anything, stop using the dryer if you smell burning, see smoke, or hear loud metal scraping. Turn the dryer off. For an electric dryer, unplug it if you can safely reach the plug. For a gas dryer, turn the appliance off and avoid touching the gas connection unless you know exactly what you are doing.
Do not keep running a dryer that gets very hot, trips the breaker, or has a hot electrical smell. A clogged vent can cause overheating. A failing heating part, motor, belt, or wiring issue can also create a safety concern.
If the dryer is stacked on top of a washer, do not try to pull it forward alone. Stacked units are heavy and can shift. Leave moving or lifting the appliance to the repair visit.
Clear a Path to the Laundry Area
A dryer repair technician needs room to work. Please clear clothing baskets, boxes, cleaning supplies, and small furniture from the path to the laundry area. This is especially helpful in condos, apartments, and older homes where the laundry closet is tight.
Clear the floor in front of the dryer and remove items stored on top of it. If there is a cabinet or shelf beside the dryer, move loose items that may fall when the appliance is pulled out.
Try to leave enough room for the dryer door to open fully. The technician may need access to the front, rear, or both sides of the machine. If the dryer sits in a closet, open the doors before the appointment and make sure the area has light.
For a property manager or landlord, it helps to tell the tenant that the technician may need to move the dryer a short distance. This avoids surprises and keeps the appointment moving.
Empty the Dryer and Clean the Lint Screen
Remove all clothes, towels, and items from the drum. Check pockets if a load was left inside. Coins, pens, hair clips, and small objects can make noise in the dryer or get caught in the drum area.
Pull out the lint screen and remove the lint from the screen. This is safe for most homeowners to do. Do not use a sharp object to clean it. A torn screen can let lint move deeper into the dryer.
Cleaning the screen does not fix every drying problem. A dryer may still have a blocked vent, weak blower wheel, failed heating part, bad thermostat, worn belt, or motor problem. But a clean lint screen helps us test the dryer correctly.
If the screen looks coated with a waxy film from dryer sheets or fabric softener, mention it during the visit. That coating can reduce airflow through the screen even when it looks clean.
Write Down What the Dryer Is Doing
The most useful preparation is often a short description of the problem. Think about when it started and what happens during a normal cycle. You do not need technical terms. Plain details are enough.
For example, tell the technician if the dryer turns on but does not heat, heats but takes too long, stops after a few minutes, makes a thumping sound, squeals, tumbles without drying, or will not start at all. Let us know if the problem happens on every setting or only on certain cycles.
Also note any lights, letters, or numbers on the display. Take a clear photo of an error code before it disappears. If the dryer makes a strange sound, a short video can help. A squeal may suggest a worn support part. A scraping sound can point to something rubbing inside. A repeated thump may come from an uneven load, a worn drum support, or an item caught in the drum.
Be honest about any recent changes. Did a breaker trip? Was the dryer moved? Did the problem begin after a vent cleaning, remodel, power outage, or new laundry product? Small details can matter.
Check the Easy Things Without Taking Anything Apart
There are a few basic checks you can make before dryer repair. These checks do not replace a diagnosis, but they may help explain the symptom.
First, check that the dryer door closes firmly. Many dryers will not start if the door switch is not being pressed. Look for clothing caught in the door opening.
For an electric dryer, check whether the breaker has tripped. Electric dryers use a stronger power connection than many appliances. Sometimes the drum can still turn while the heating side has lost power. Do not keep resetting a breaker that trips again. That needs to be checked.
For a gas dryer, make sure the gas supply valve has not been turned off by mistake. Do not disconnect the gas line or test for leaks yourself. If you smell gas, leave the area and contact the gas utility or emergency services as appropriate.
You can also look at the outside vent hood while the dryer is running, but only if the dryer is operating normally and there is no burning smell. Weak airflow may mean lint is blocking the vent line. Do not push tools, hoses, or a vacuum deep into the vent from inside the laundry room. That can damage the duct or pack lint farther in.
Make Sure We Can Reach the Connections
Dryers need power and airflow. Gas models also need a gas connection. The outlet, vent connection, and gas valve are often behind the appliance, which is why access space matters.
Do not disconnect the vent pipe before the appointment unless it is already loose and easy to remove without forcing it. Older foil-style or damaged vent material may tear when handled. A crushed or loose vent can cause long dry times and lint buildup, so it is worth mentioning if you have seen one.
If your dryer is in a garage, laundry closet, or utility room with a locked gate or building entry, arrange access in advance. For apartment managers, confirm parking instructions, unit number, and who can let the technician in. A repair visit is much easier when access is ready at the scheduled time.
Have the Model Number Ready if You Can
The model number helps identify the right parts and service information. It is usually on a label around the door opening, inside the door frame, or on the rear panel. On some stacked laundry centers, the label may be in a less obvious location.
Take a photo of the whole label if possible. The model number, serial number, and brand are more useful than a photo of the dryer front. Do not worry if you cannot find it. A technician can often locate it during the visit.
If you have had previous dryer work done, keep any invoice or part information nearby. This can be helpful if the current issue may be related to an earlier repair.
Do Not Try These DIY Fixes Before Service
Homeowners often want to solve the problem quickly. That makes sense. Still, some dryer repairs are not safe as a first-time project. Avoid removing panels, bypassing door switches, touching electrical terminals, taking apart gas connections, or running the dryer with the vent disconnected indoors.
Do not spray lubricants into the dryer. Do not tape a damaged power cord. Do not use the dryer if the drum has sharp edges, the appliance shocks you, or the plug or outlet looks burned.
A dryer can appear simple from the outside, but the cause is not always obvious. A no-heat problem may be a power issue, heating part, thermal fuse, thermostat, control problem, or airflow restriction. Replacing a part without testing can waste time and money.
What to Expect During a Dryer Repair Visit
A proper visit starts with the symptom you noticed. The technician will inspect the dryer, test key parts, and check the airflow path when needed. The goal is to find the cause, not just replace the first part that looks suspicious.
At Vertex Appliance Repair, the diagnostic fee is $69 and is waived when you approve the repair. Once the issue is identified, you can review the repair recommendation before work begins. Completed repairs and installed parts include a 90-day warranty.
If a part needs to be ordered, the technician can explain the next step and what to expect. Some problems are repaired in one visit. Others depend on the dryer model, part availability, and how the appliance is installed.
For homes and rental properties in West Hollywood, preparation is mostly about safety, access, and clear information. Leave the appliance intact, clear the work area, and share what you have seen. That gives the technician the best chance to diagnose the dryer quickly and get your laundry routine back on track.
If your dryer is not heating or takes several cycles to dry a load, we can help. See dryer repair in West Hollywood or call 323-747-7098.
Related articles

Oven Temperature Troubleshooting at Home
Refrigerator Not Cooling With Frost on the Freezer Wall — Heater or Thermistor?