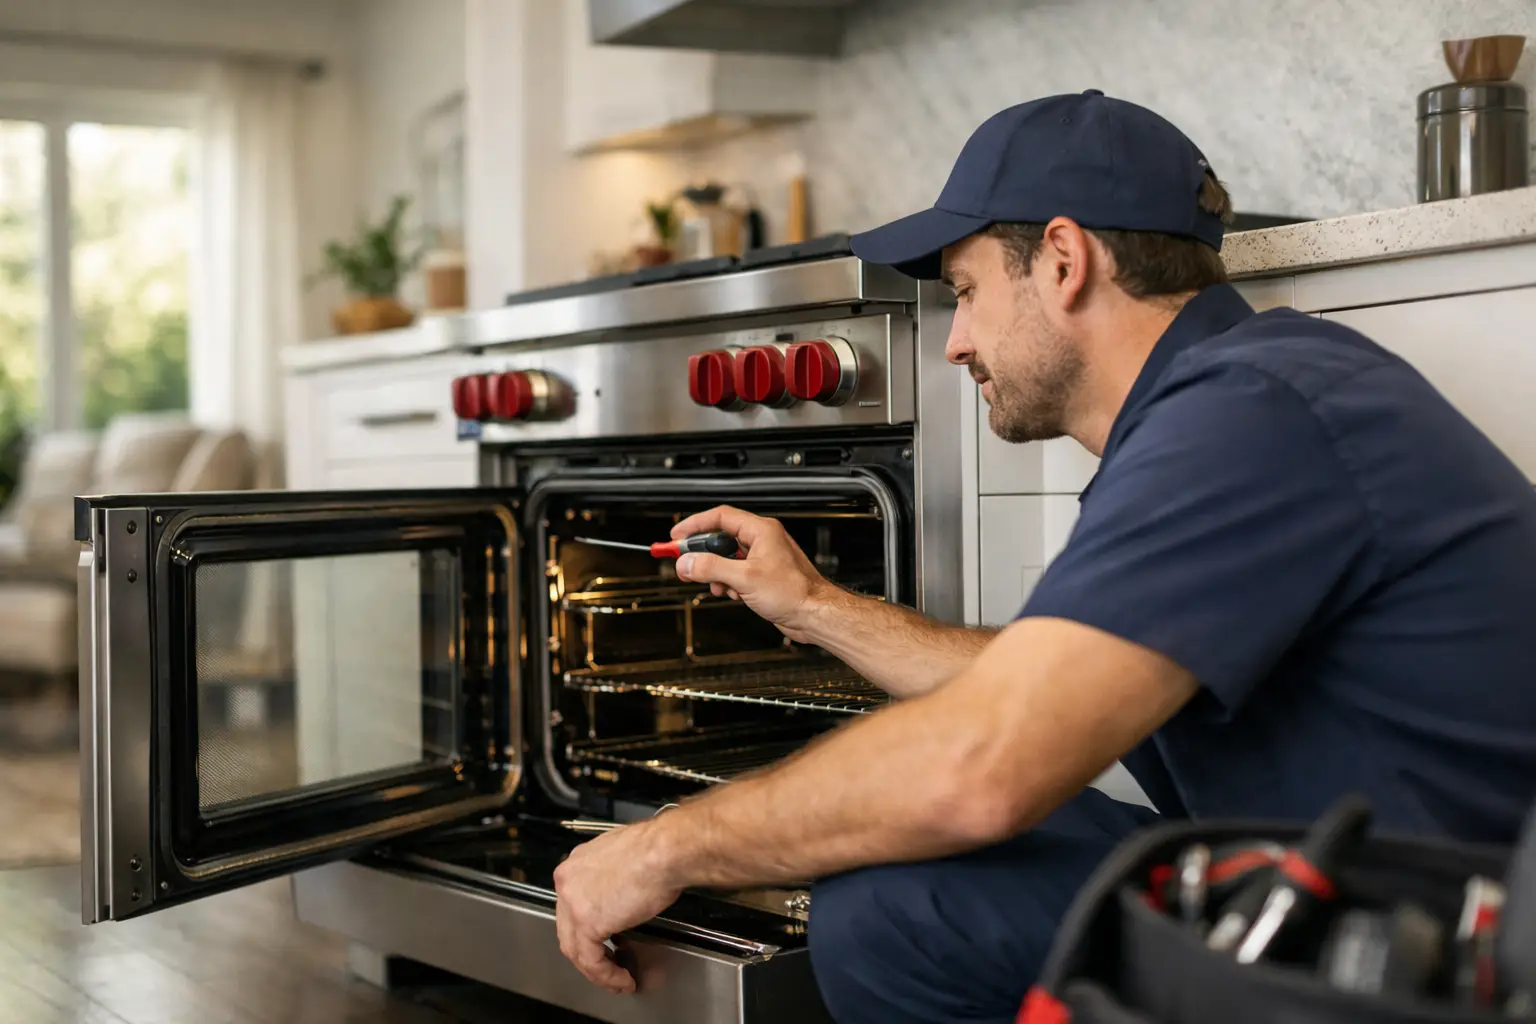





How to Prepare for Appliance Repair at Home
Learn how to prepare for appliance repair, protect your home, share useful details, and help your West Hollywood technician diagnose the issue faster today
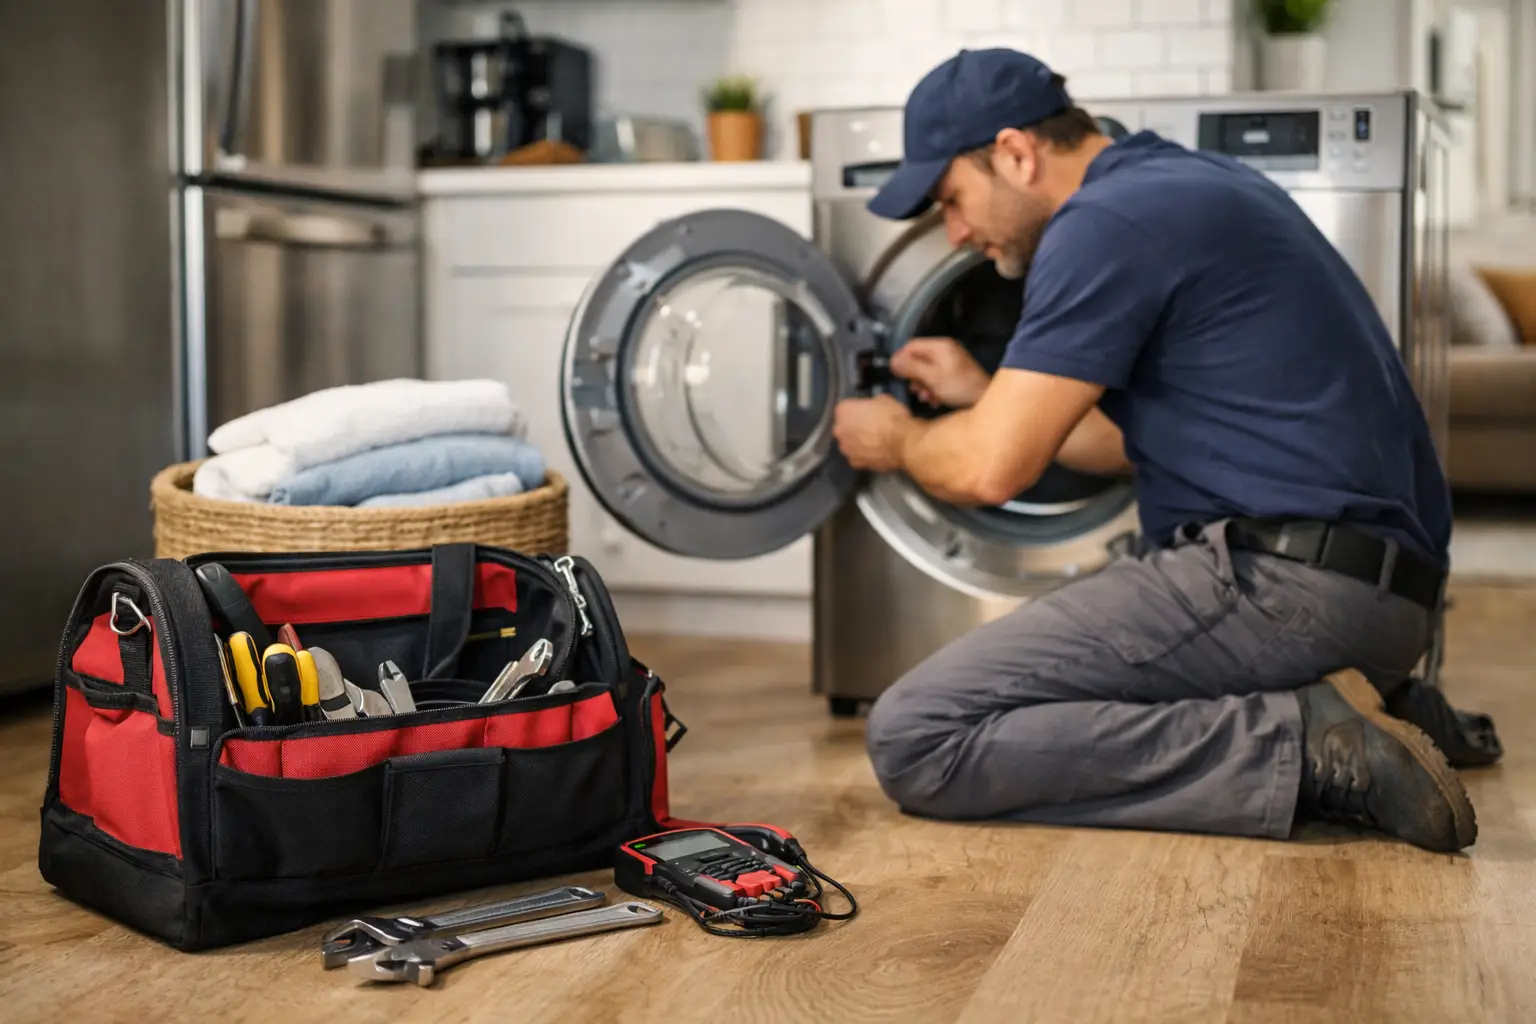
A repair visit goes faster when the technician can get to the appliance, see the problem, and test it safely. Knowing how to prepare for appliance repair can also prevent a small issue from becoming water damage, spoiled food, or a safety problem.
You do not need to take the appliance apart. In fact, that can make diagnosis harder or create a risk. A few simple steps are enough. They help the technician focus on the failed part instead of spending time clearing a path, finding the shutoff, or collecting basic details.
Make the Appliance Safe First
If you smell gas, see smoke, notice sparks, or see a burning smell, stop using the appliance right away. Turn it off if you can do so safely. For a gas range or oven, leave the area and contact the gas utility or emergency services if you believe there may be a gas leak. Do not try to find a gas leak with a flame.
For water leaks, turn off the appliance and close the nearby water valve if you know where it is. A washer usually has hot and cold supply valves behind it. A refrigerator with an ice maker may have a small water valve behind the unit or under the sink. Put down towels to control a minor leak, but do not keep running the appliance to test it.
If the appliance is making a loud grinding sound, tripping the breaker, or showing an error code, stop using it until it is checked. Repeated test cycles can damage a motor, pump, control board, or wiring.
A refrigerator is a special case. Do not unplug it just because it is not cooling well unless there is an electrical or safety concern. The technician may need to see whether the fans run, whether the display is active, and how the unit behaves. Keep the doors closed as much as possible to protect the food inside.
Clear a Safe Work Area
Most appliances need room to be pulled out, opened, or accessed from the back. Before the appointment, move breakable items, rugs, laundry baskets, cleaning supplies, and pet bowls away from the work area. A clear path from the door to the appliance also helps when tools or parts need to be carried in.
For a washer and dryer, remove clothes from the machines. Clear items off the top. If the machines are in a tight closet, take out anything stored beside them. Access to the rear connections may be needed.
For a dishwasher, empty the lower cabinet under the sink if it blocks the water shutoff or drain connection. You do not need to remove the dishwasher or disconnect hoses yourself.
For an oven, range, or cooktop, take pots, pans, and food off the surface. Let the appliance cool completely before the visit. If the oven has a heavy buildup of grease, do not run a self-clean cycle before repair. High heat can make an existing problem worse, especially when a part is already failing.
Built-in refrigerators, wine coolers, wall ovens, and other built-in appliances may need extra access planning. Let the repair company know if the unit is behind a panel, inside a cabinet opening, or hard to reach. Do not force trim pieces or panels loose unless you know how they are attached.
Write Down What You Have Seen
The most useful information is often simple. Tell the technician what the appliance did, when it started, and whether the problem happens every time.
For example, “the washer will not drain” is helpful. “It stopped during the spin cycle on Tuesday, showed code E21, and there was water left in the drum” is even better. It points the diagnosis in the right direction without assuming what part is bad.
Before the visit, make a short note with the appliance brand and model number, the symptom, any error code, and when the problem occurs. A photo of the display can help if an error code disappears later. If there is a leak, a photo or short video of where the water appears can also be useful.
Try to remember whether anything changed before the issue started. A power outage, a moved appliance, a new detergent, an overloaded washer, or a recent plumbing issue can matter. It does not always identify the cause, but it gives the technician a better starting point.
Find the Model and Serial Number
The model number helps identify the correct parts. It is not always in the same place.
On refrigerators, it is often inside the fresh food section along a side wall or near the crisper drawers. On washers and dryers, check around the door opening, under the lid, or on the back panel. Dishwashers often have the label along the inside edge of the door. Ovens and ranges may have it around the door frame, storage drawer area, or rear panel.
Take a clear picture of the label if you can reach it easily. Do not pull out a heavy appliance only to find the label. The technician can locate it during the visit if needed.
Do Not Attempt a Repair Before the Visit
It is normal to look for an easy fix. Checking that a refrigerator is plugged in or that a dishwasher door closes fully is reasonable. Going further can cause trouble.
Avoid removing electrical panels, disconnecting gas lines, taking apart a dryer, or bypassing a door switch. Do not use a random online part just because the symptom sounds familiar. The same symptom can have several causes. A dryer that does not heat may have an airflow problem, a failed heating part, a power supply issue, or a control problem.
Also avoid using drain chemicals in a dishwasher or washer. They can damage hoses and seals. If you have already tried something, tell the technician exactly what you did. That information is useful and there is no reason to worry about it.
Plan for Access and Decision-Making
Someone 18 or older should be available to let the technician in and answer basic questions. If you are a tenant, make sure the landlord or property manager knows about the appointment when approval is needed. If you manage several units, provide the unit number, parking instructions, gate code, and the best contact person.
Pets should be in another room or secured before the technician arrives. This is safer for the pet and makes it easier to move equipment or open doors.
Think ahead about who can approve a repair. After diagnosis, the technician may explain the failed part, repair options, part availability, and price. Some repairs can be completed during the visit. Others need a part ordered first. That depends on the appliance, the failure, and what parts are available.
At Vertex Appliance Repair, the diagnostic fee is $69 and is waived when you approve the repair. Completed repairs and installed parts include a 90-day warranty. It helps to have the person who can approve the work available by phone if they cannot be at the property.
How to Prepare for Appliance Repair in a Rental or Multi-Unit Building
Rental homes and apartment buildings have a few extra details. The appliance may belong to the owner, and building rules may affect access, parking, or water shutoffs. Share this information before the visit when possible.
For a leak, tell the repair company if water has reached another unit, a hallway, or a lower floor. A washer leak can come from the appliance, the supply hoses, the drain line, or the building plumbing. The technician needs a clear picture of what happened.
Property managers should also confirm whether a tenant will be home and whether the appliance is in a locked utility room. A missed appointment means more downtime for the resident and more scheduling work for everyone.
Ask Questions Before the Technician Leaves
Once the problem is found, ask what failed and why it likely happened. Ask whether there is anything you should change in normal use. A simple answer may help prevent repeat issues, such as cleaning a dishwasher filter, avoiding overloaded washer loads, or keeping refrigerator vents clear.
If a repair is completed, test the main function with the technician when practical. Run a short washer cycle, confirm the dishwasher fills and drains, or check that an oven begins heating. Some appliances need more time to show normal cooling or drying, so ask what to expect over the next few hours.
A little preparation keeps the visit focused on the repair, not the obstacles around it. Clear the area, save the details, and stop using the appliance if there is a safety concern. That gives you the best chance of getting back to normal with less disruption.
If your dryer is not heating or takes several cycles to dry a load, we can help. See dryer repair in West Hollywood or call 323-747-7098.
Related articles
Built In Refrigerator Versus Freestanding: Which Fits?
Sub-Zero Error 24 EC — Check the Condenser Before the Defrost Parts